Self Portrait
Title: The eyes of my world
Size: 91.44 x 91.44 cm
Dicember 2016
Exhibition Text
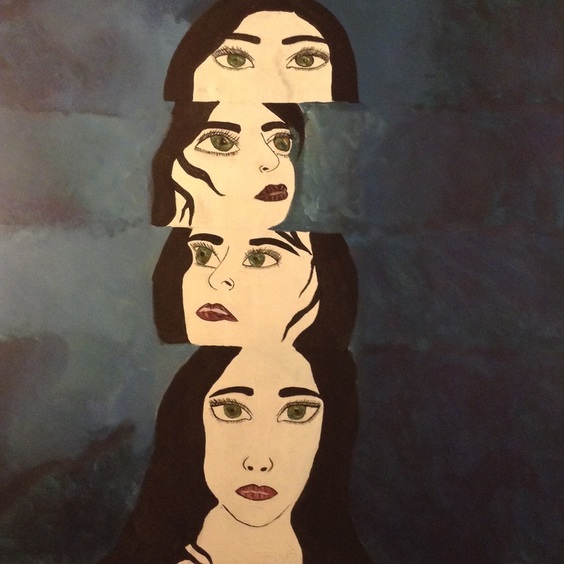
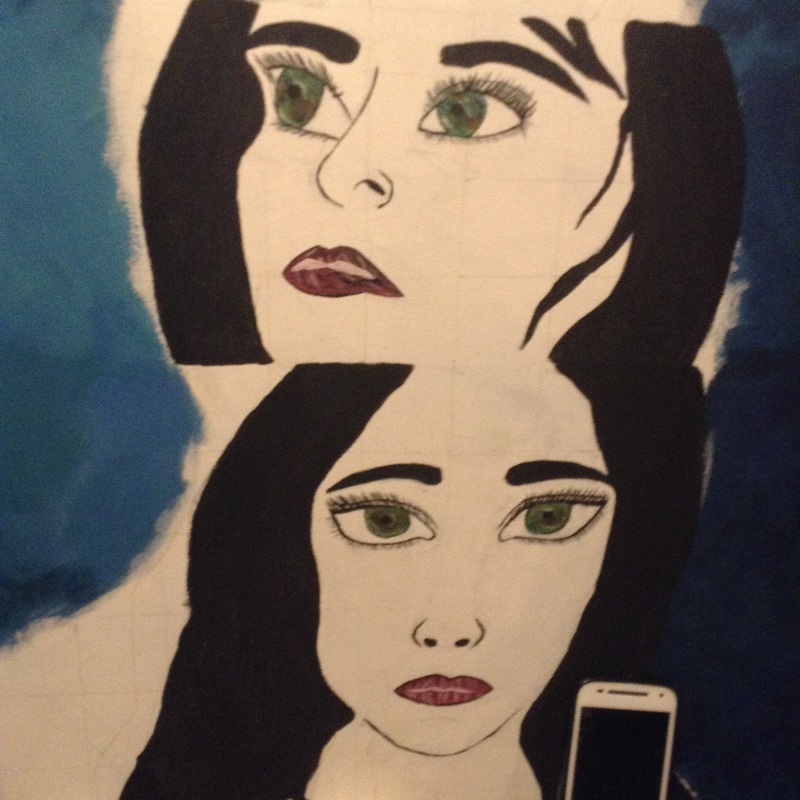
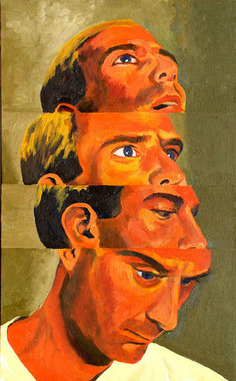
“The eyes of my world” is a self portrait that exhibits the many ways which one might view the world. This piece was inspired by two artists self portraits, Kathe Burkhart and her self portrait in The Liz Taylor series; and Scott Rasmann and his unique self portrait. “The eyes of my world” represents my four main perspectives of which I see the world.
The Meaning
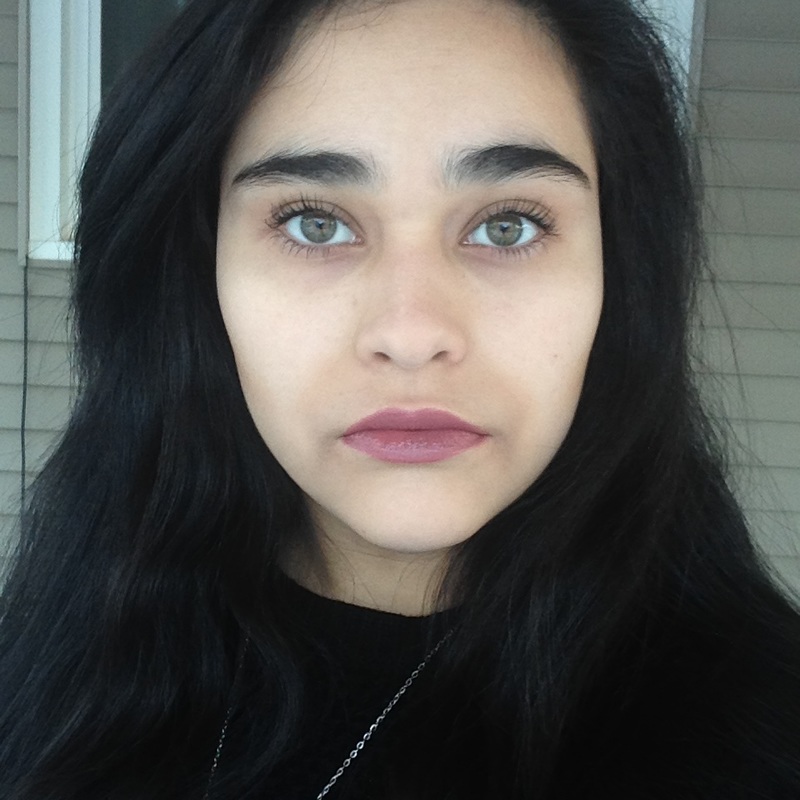
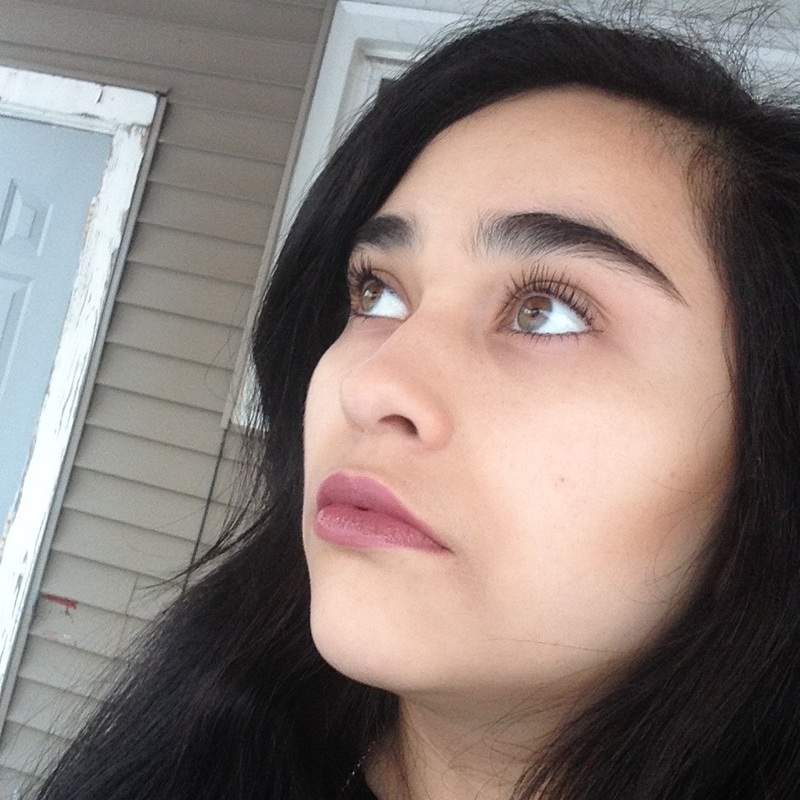
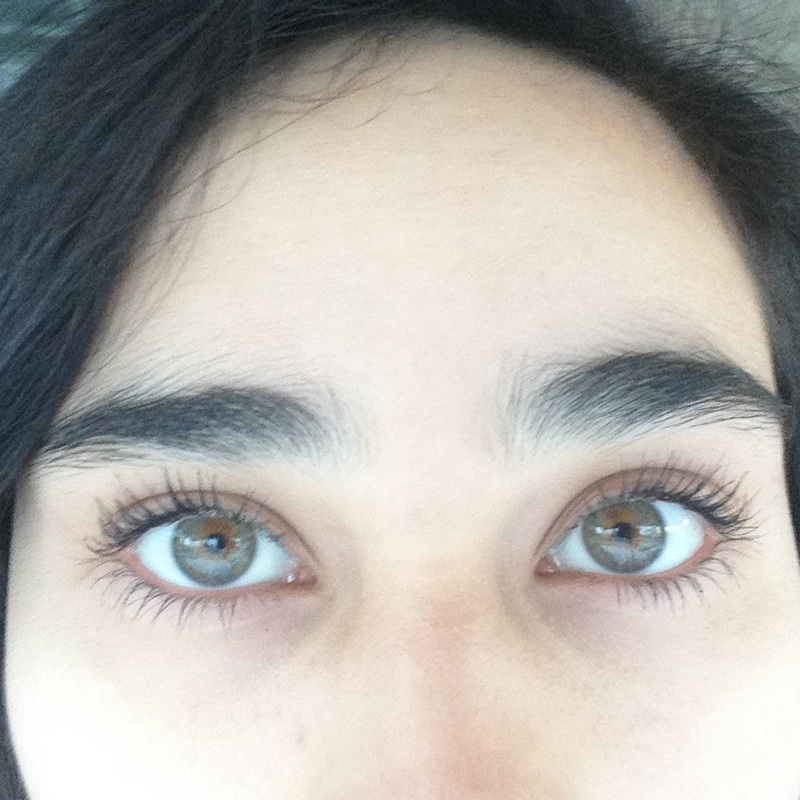
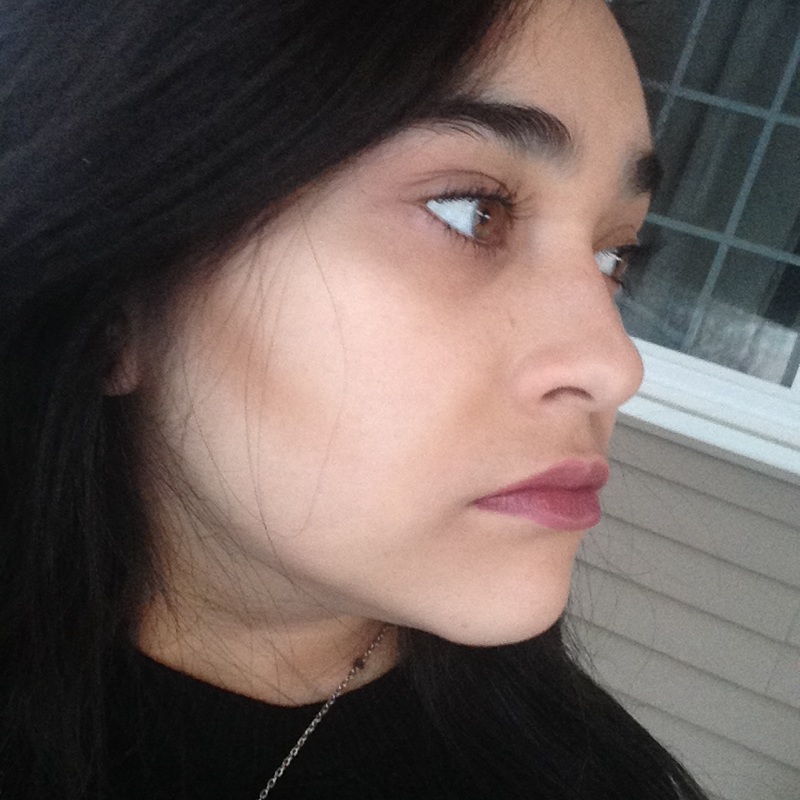
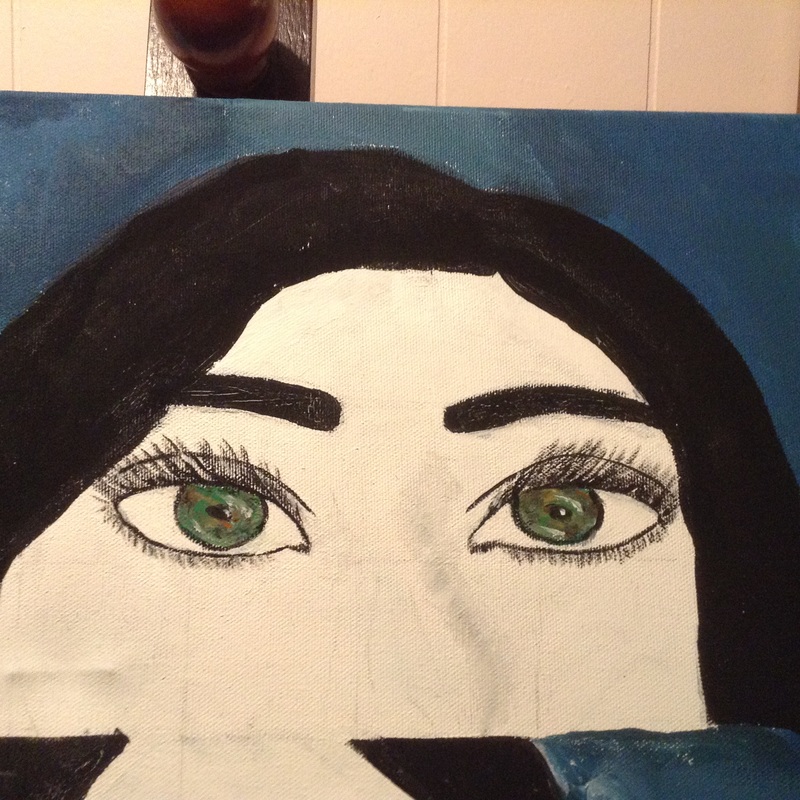
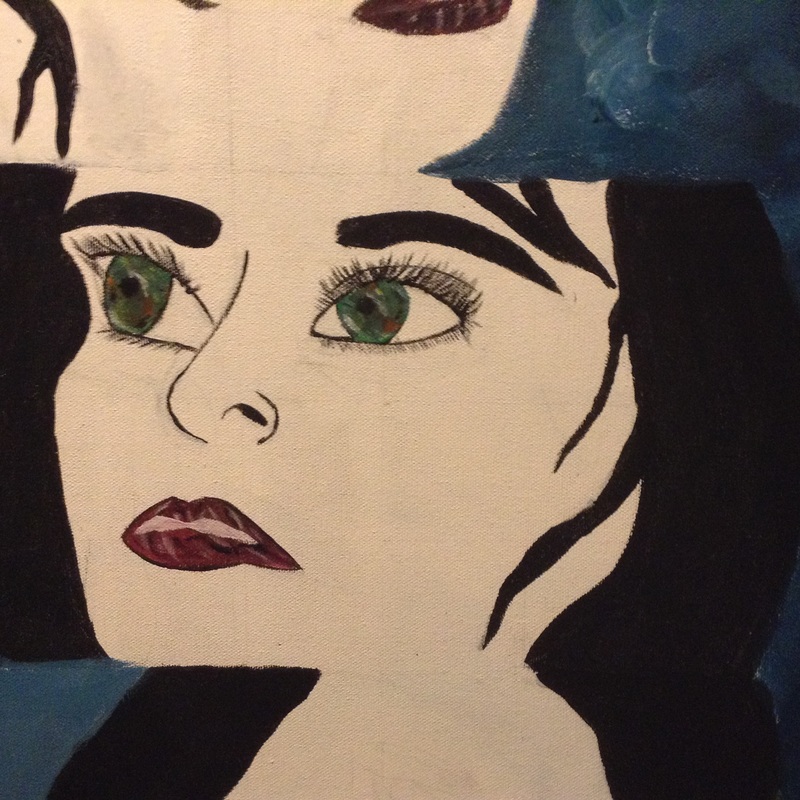
There is only one world, there are many different people living in this world, fortunately I am one of them and I see the world in many different ways. Most of the time I see the world in four different ways; one, by being the first face on the piece, I sometimes can see the world directly without any emotion and just focus on the facts and what is really happening, that is why this part of the piece only has two eyes looking out, to represent the straightforward way that I can see the world. The second most common way that I see the world is with hope, that is why the face is looking slightly up, because I can see the world with hope, but I still don't see it getting any better. The third way that I can sometimes see the world is just by ignoring it, this is the third face, here I just don't really look out to the world, I don't think or try to see the world. Finally the last way that I see the world is with disappointment, this is due to the many things that the world has to deal with and then we (humanity) are just using and taking advantage of our home and we don't even appreciate it, so we keep hurting it every day. I decided to use a limited color pallet because I wanted to exhibit the emotions, therefore I didn't want any distractions because the meaning is all about emotions, also the contrast between the fullness and color of the world and my many ways to view it. Finally all of the faces have different sized because they all have a different impact on me, the bigger the face is, the bigger the emotion I feel is, just as the eyes are small because I can barely see the world without bias, on the other hand, the lowest face is the one that focuses more in disappointment, which is what I feel the most. The eyes of my world, represent my emotions and feelings that I keep to myself everytime I open my eyes and start a "new" day.
Experimentation
The first part of experimentation that I was able to work on was building the canvas, since I had never done this before. Putting the frame together was hard because everything had to be balanced and perfectly assorted into place, but the part that I had the most trouble in was when I was attaching the canvas fabric to the frame. First I stapled one side first and then just rotated the canvas, did this not work because at the end the fabric was loose and the canvas was not stable. Then I overcame this obstacle by stapling the fabric onto the frame in a different pattern.
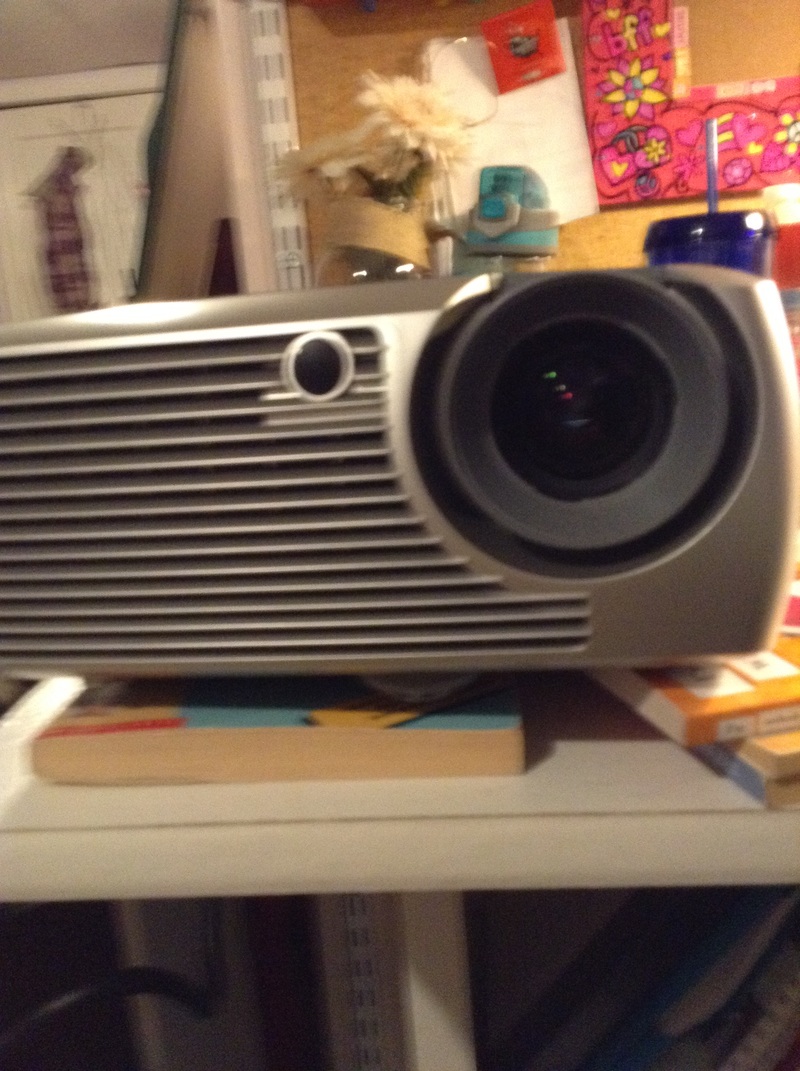
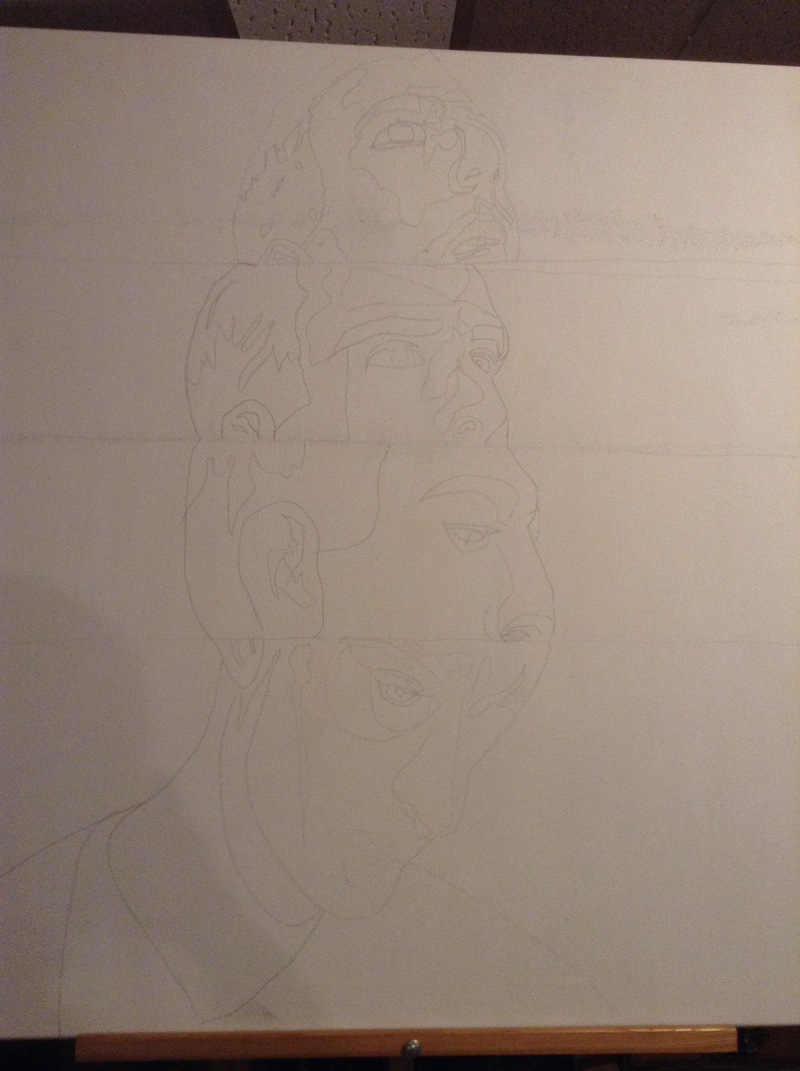
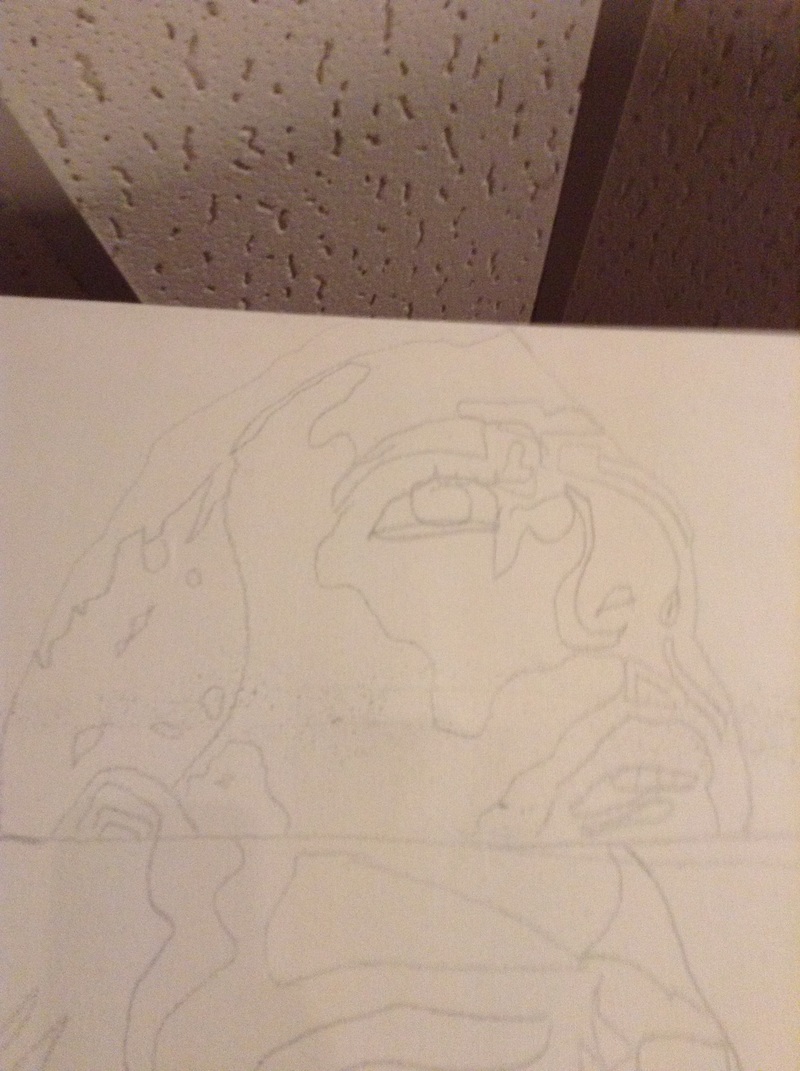
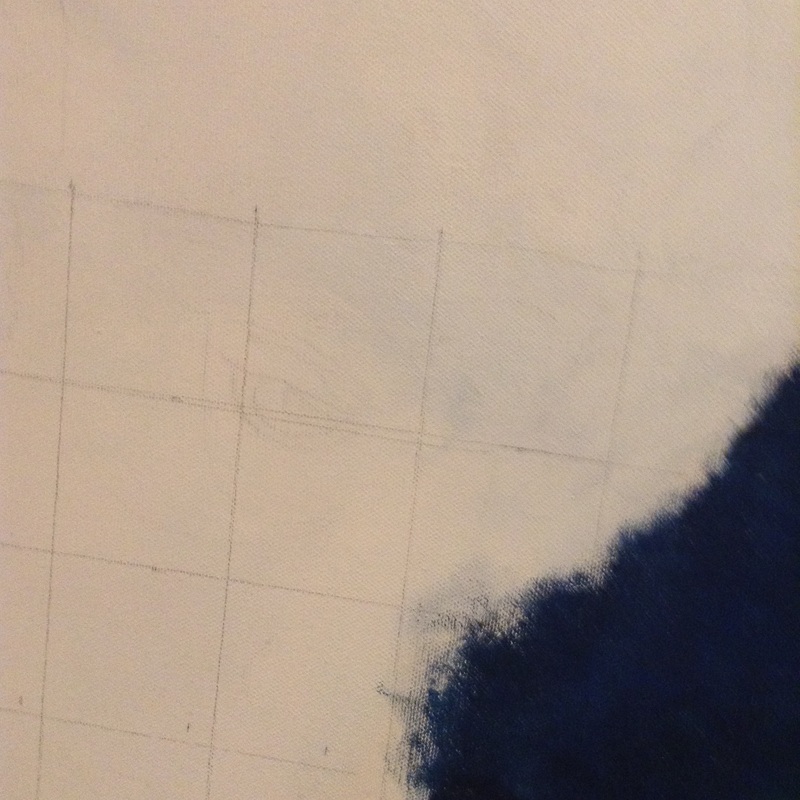
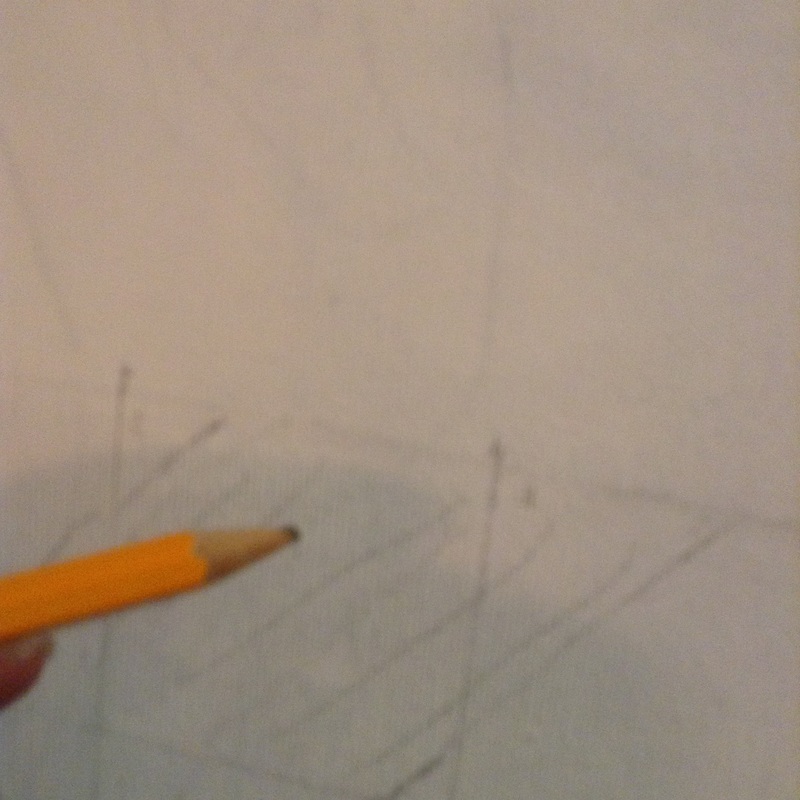
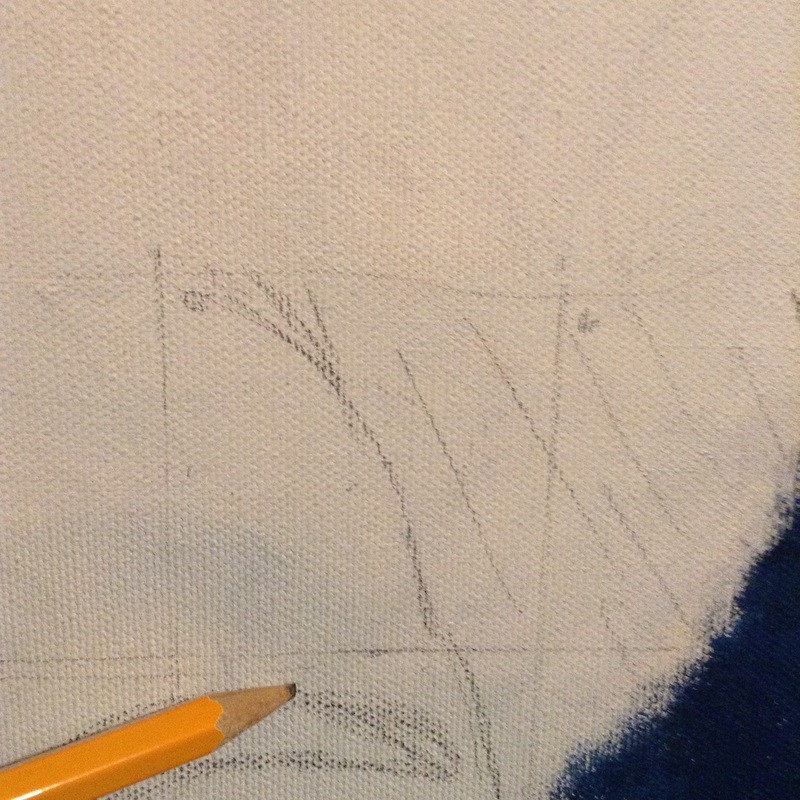
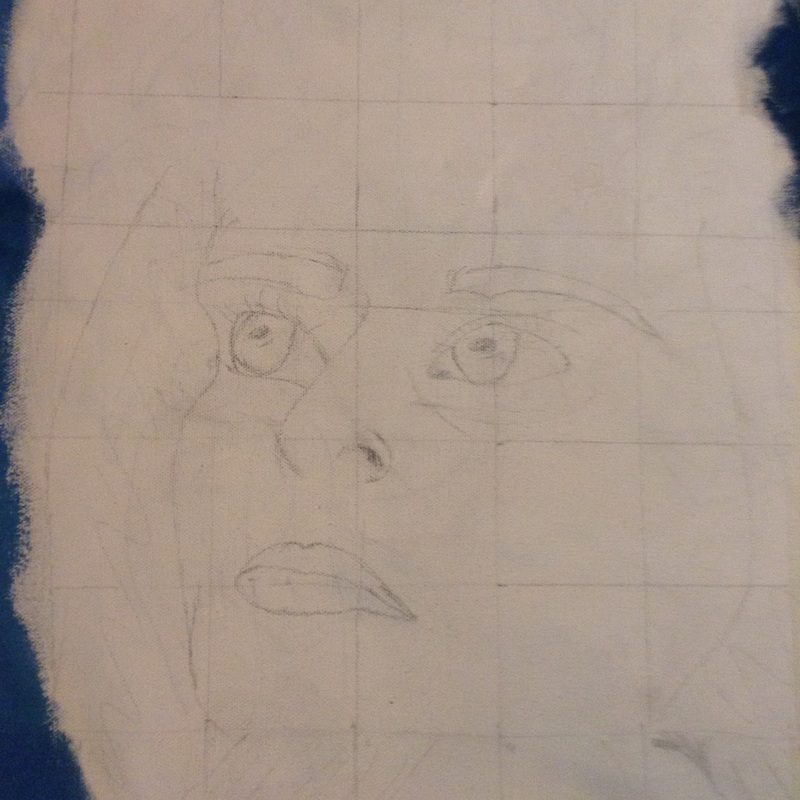
When I was doing the sketches on the canvas, I realized that I first sketched the wrong faces, this was a challenge because I painted the background after that, and when I was done with the background I realized that it was going to be very difficult to put my faces on the canvas. The first thing I tried was to project the faces, this didn't work very well because the projection of the projector was not stable and it was distorted when projected to the canvas. However, I found that the best way to put my faces onto the canvas was by making a grid, but this was also an experimentation because I had to make approximately three different sized of the grids, so that the faces could fit on properly. At the end I found the correct measurements for the grid and I was able to sketch my faces onto the canvas.
Process
1. Gathering Ideas
The first step that I took in order to do a self portrait was to research various artist and their self portraits. This was not an easy step, since there are so many artist and self portraits, but I decided to condense my research by researching some self portraits that would match my personality and vision in the world. I came across two artists that I really liked and I couldn't pick between then, so I decided to combine their pieces and make one self portrait of myself. Kathe Burkhart and Scott Rasmann were the two artist that I was able to research and get inspired from, on this step I was able to research more deeply about these artist lives and artworks.
The first step that I took in order to do a self portrait was to research various artist and their self portraits. This was not an easy step, since there are so many artist and self portraits, but I decided to condense my research by researching some self portraits that would match my personality and vision in the world. I came across two artists that I really liked and I couldn't pick between then, so I decided to combine their pieces and make one self portrait of myself. Kathe Burkhart and Scott Rasmann were the two artist that I was able to research and get inspired from, on this step I was able to research more deeply about these artist lives and artworks.
2. Finding the Meaning
Once I found my inspiration and research done, I had to combine the pieces and make my own, here I decided to leave the structure of Scott Rasmann self portrait and use the technique that Kathe Burkhart used in her self portrait. I decided to do this because I connected with Scott Rasmann and I connected it with the many ways I see the world, but my connection to Kathe Burkhart was the way that she used simple colors to get her meaning across. Out of my connections to the two piece I found my meaning and started to find a way that I could combine the two and make some sketches to represent my meaning.
Once I found my inspiration and research done, I had to combine the pieces and make my own, here I decided to leave the structure of Scott Rasmann self portrait and use the technique that Kathe Burkhart used in her self portrait. I decided to do this because I connected with Scott Rasmann and I connected it with the many ways I see the world, but my connection to Kathe Burkhart was the way that she used simple colors to get her meaning across. Out of my connections to the two piece I found my meaning and started to find a way that I could combine the two and make some sketches to represent my meaning.
3. Creating Sketches
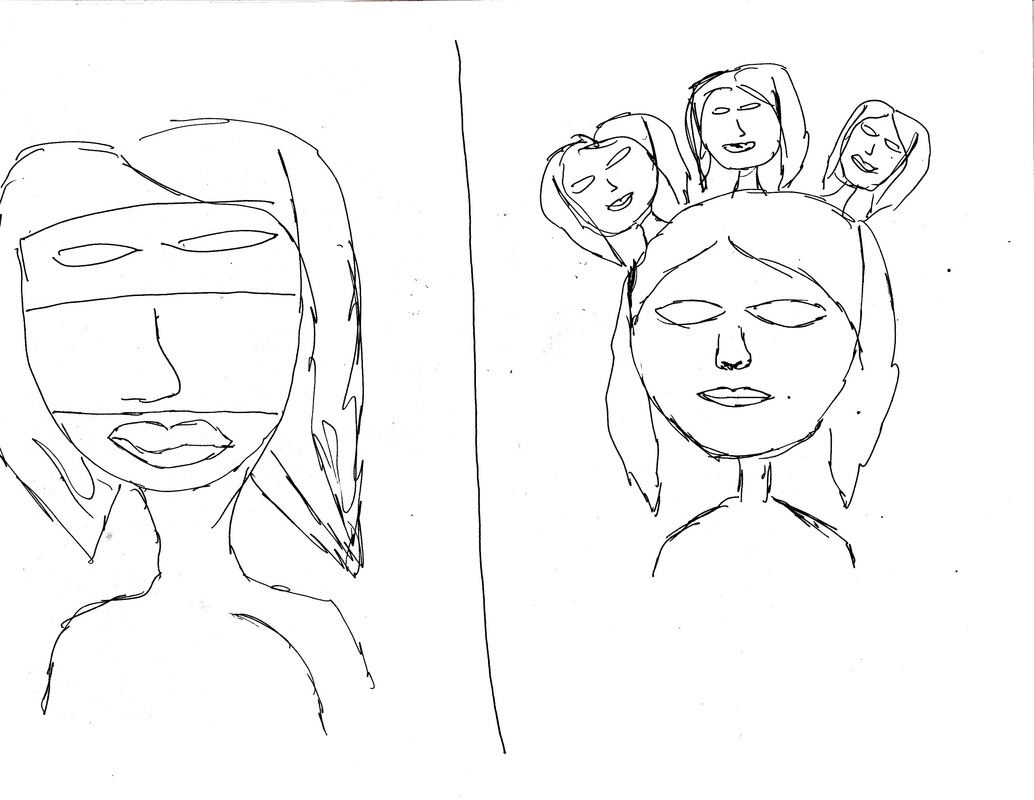
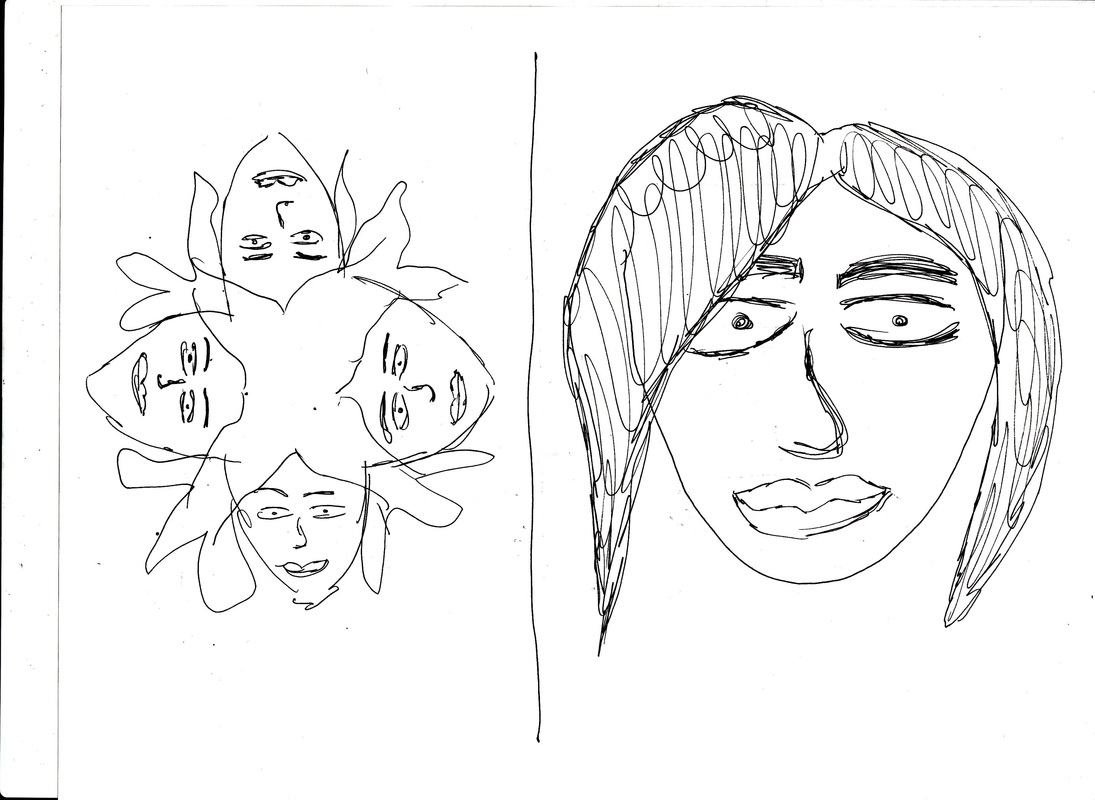
Once I found my meaning I decided to create different types of sketches, so that later on I could have different ways to exhibit my meaning and choose the best representation of my meaning.
Once I found my meaning I decided to create different types of sketches, so that later on I could have different ways to exhibit my meaning and choose the best representation of my meaning.
|
4. Creating a Final Sketch
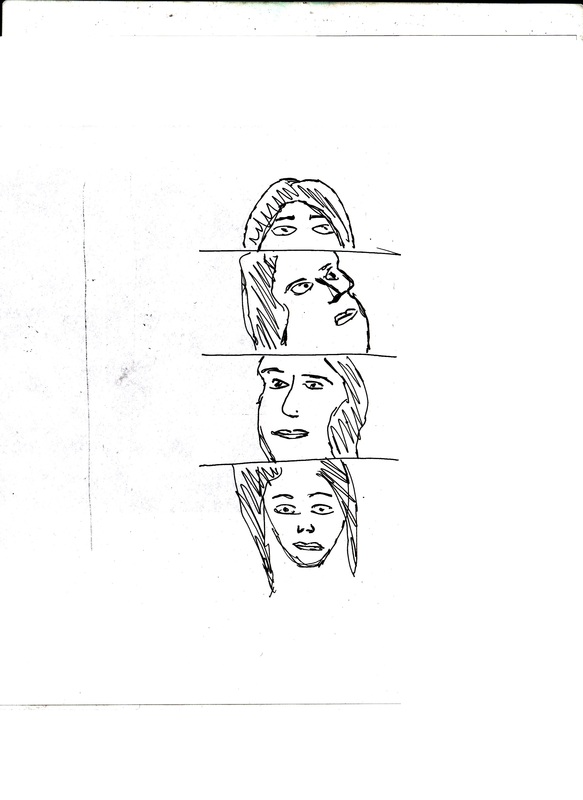
Once I was done creating some sketches I realized that there was something that would connect my meaning to the sketch in most of the sketches, therefore I decided to create a final sketch by combining some new and some ideas from the previews sketches. |
|
5. Creating the Canvas
In order to do my self portrait, I needed to create my own canvas, for this I gathered some materials like, pieces to create the frame, canvas fabric and staple. I took all of the pieces of wood to create the frame, I did this by arranging the pieces to create a perfect square and then I stapled the pieces together to have a solid frame. After the frame was done, I measured the canvas fabric and placed it over the frame, then I carefully stapled the fabric to the frame and then cut the remainder fabric. At the end I was able to have a 3ft by 3ft canvas where I would create my self portrait.
In order to do my self portrait, I needed to create my own canvas, for this I gathered some materials like, pieces to create the frame, canvas fabric and staple. I took all of the pieces of wood to create the frame, I did this by arranging the pieces to create a perfect square and then I stapled the pieces together to have a solid frame. After the frame was done, I measured the canvas fabric and placed it over the frame, then I carefully stapled the fabric to the frame and then cut the remainder fabric. At the end I was able to have a 3ft by 3ft canvas where I would create my self portrait.
6. Transferring the Final Sketch onto the Canvas
First I gathered the materials I needed, the canvas, an easel, a computer, a projector and a pencil. I plugged in the projector to the computer and found a picture of Scott Rasmann work and I projected this picture onto the canvas which was placed on the easel. Since this piece was going to be the base of my final work I did a subtle outline by sketching from the projection of the projector to the canvas, this way I would have a guide to know what I would sketch next. After I was done creating an outline, I decided to start measuring parts of my canvas, so that the outline could be a good outline to create the final sketch in the canvas.
First I gathered the materials I needed, the canvas, an easel, a computer, a projector and a pencil. I plugged in the projector to the computer and found a picture of Scott Rasmann work and I projected this picture onto the canvas which was placed on the easel. Since this piece was going to be the base of my final work I did a subtle outline by sketching from the projection of the projector to the canvas, this way I would have a guide to know what I would sketch next. After I was done creating an outline, I decided to start measuring parts of my canvas, so that the outline could be a good outline to create the final sketch in the canvas.
7. Creating the Final Piece
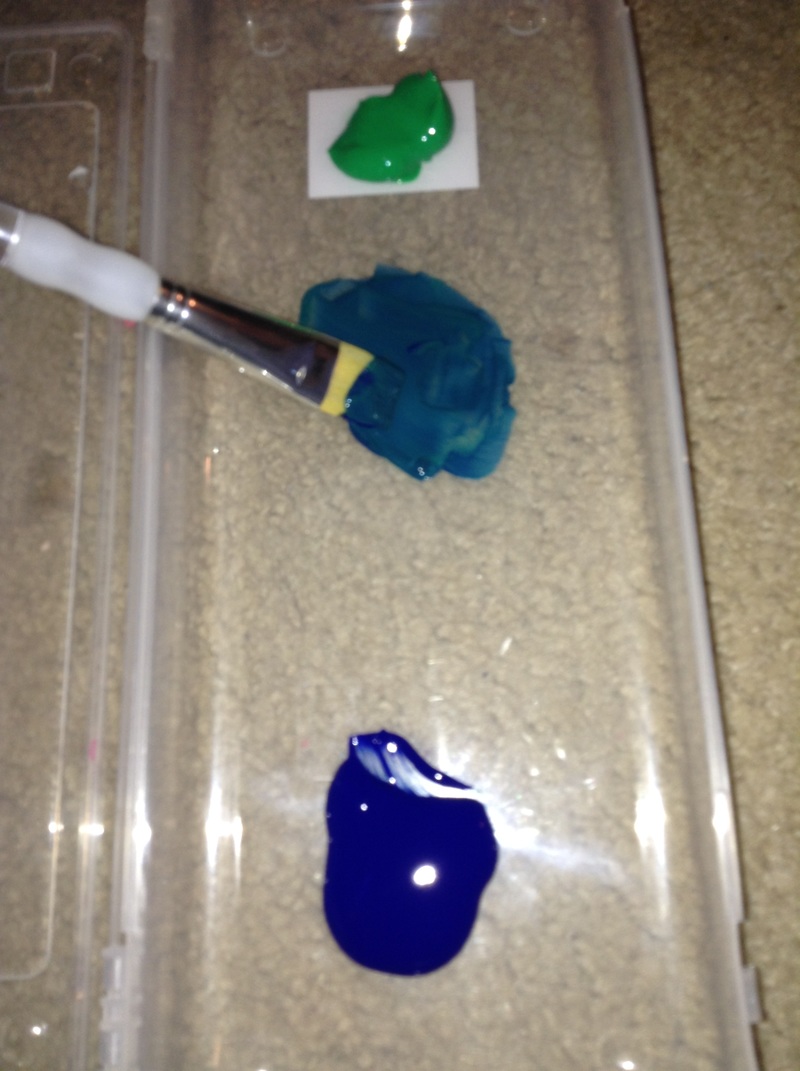
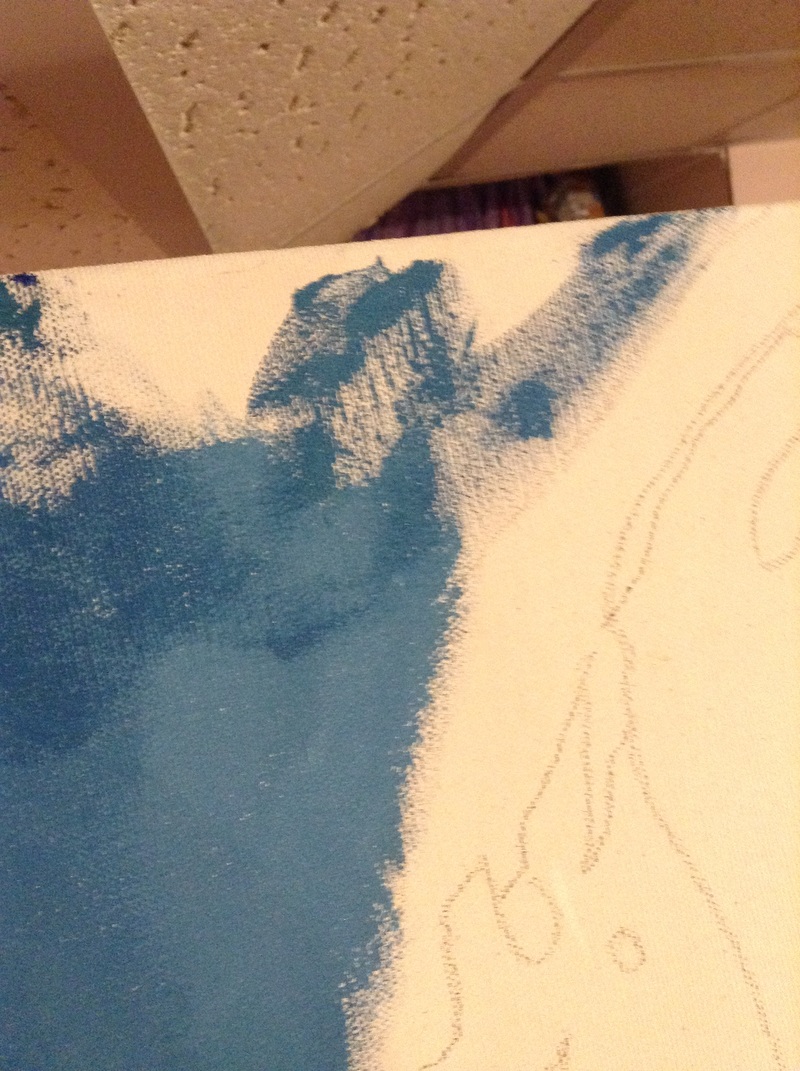
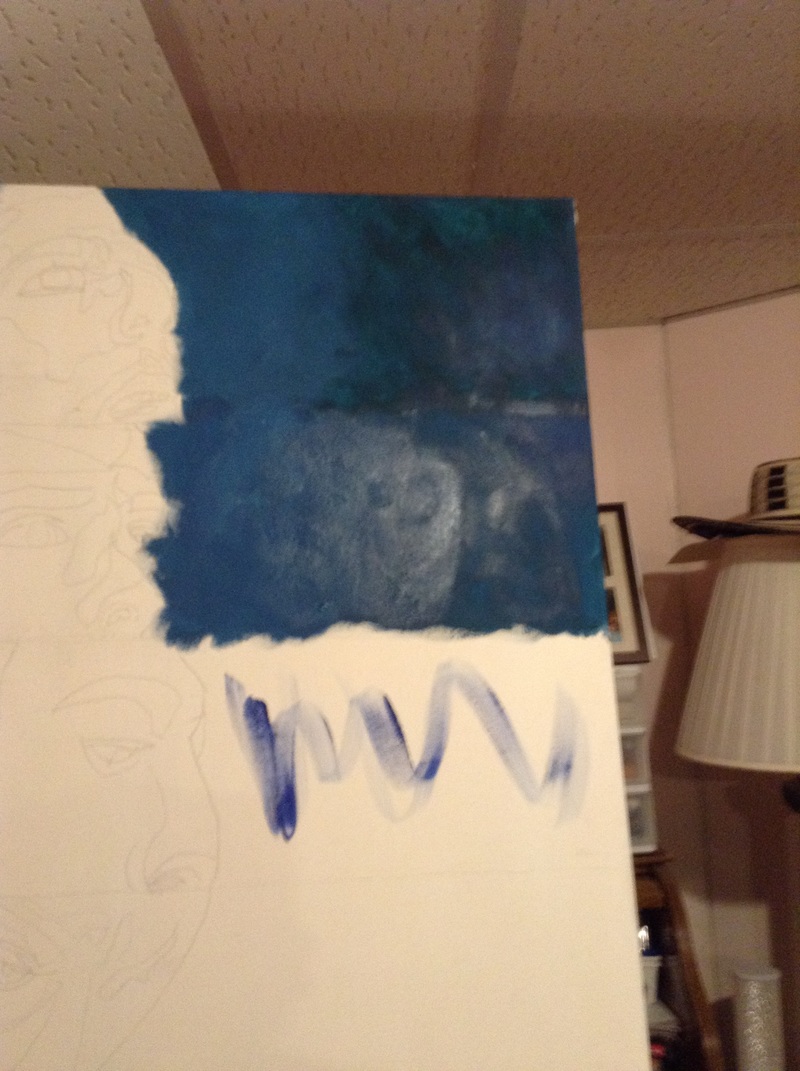
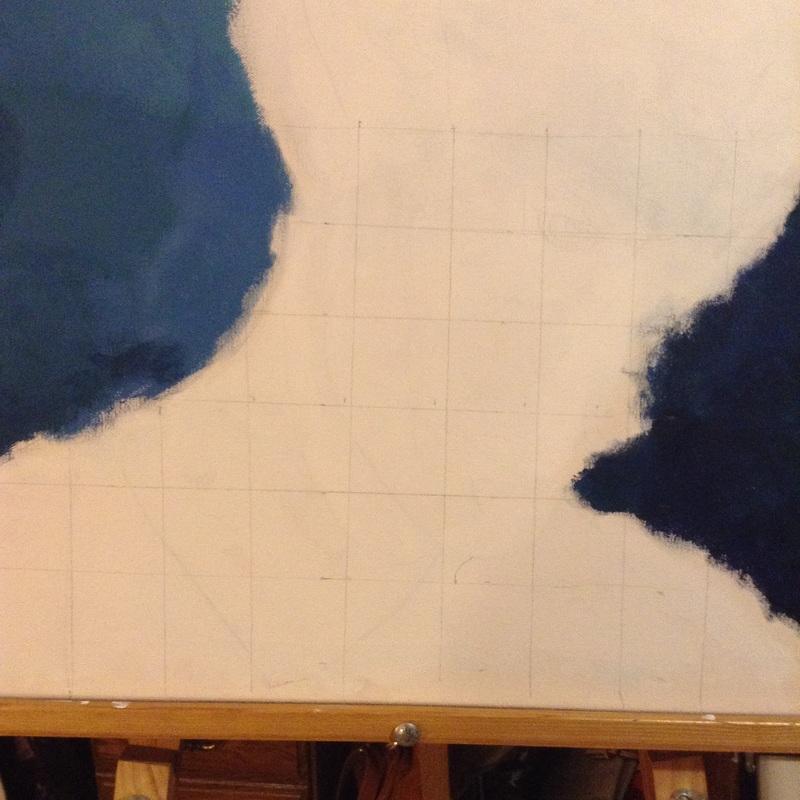
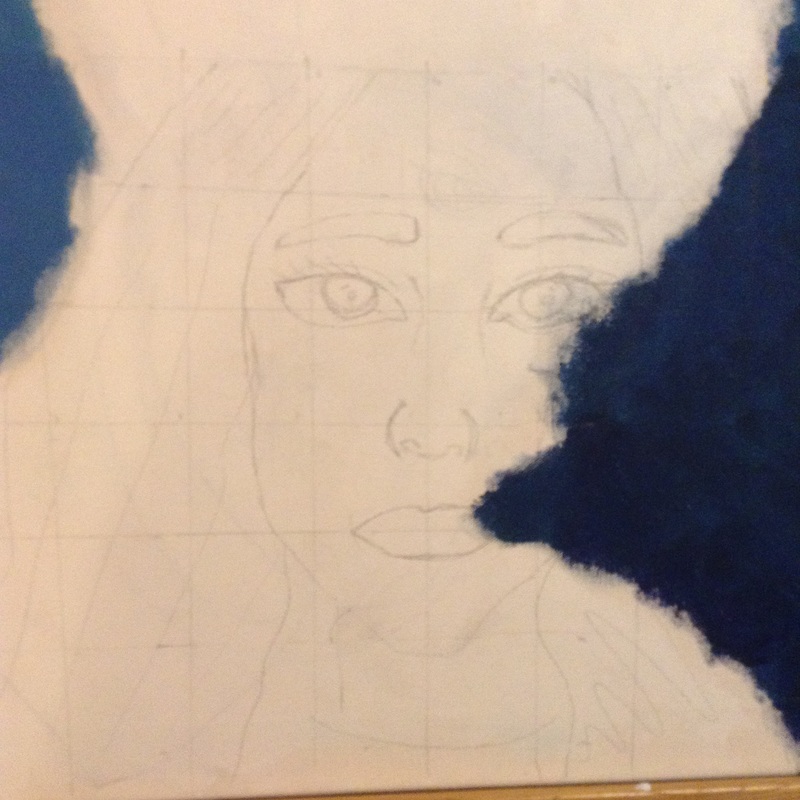
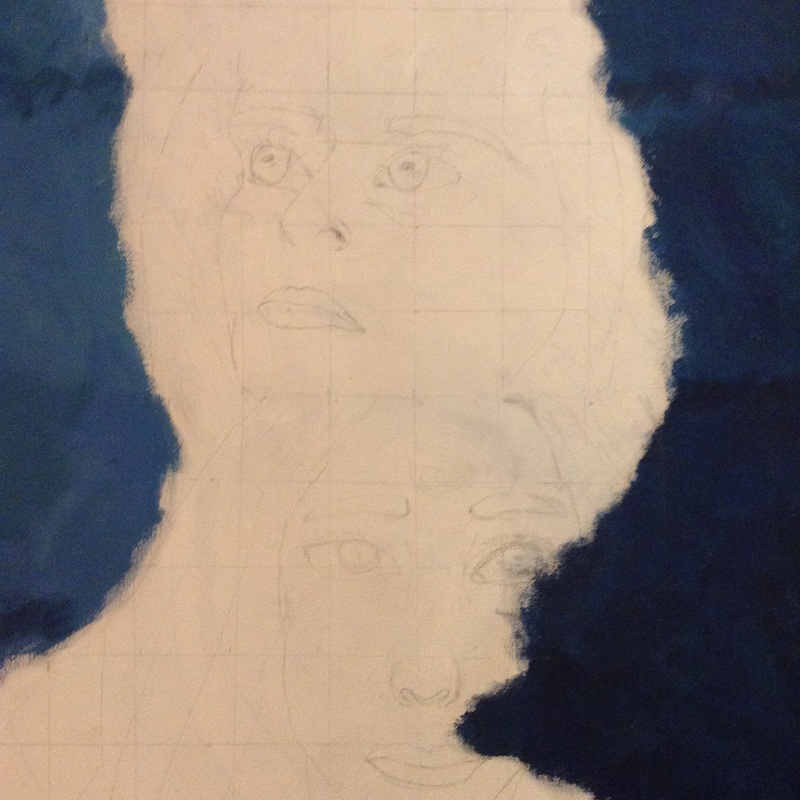
After the outline was done, I decided that it would be best to paint the background first and then my actual face. Since I was combining two different pieces I decided to paint the background as Scott Rasmann did on his self portrait because I realized that the contrast between the background and the faces would be the best if I were to do it this way. I did not use the same colors in the background as Scott Rasmann did because I wanted to use the vibrant hues that Kathe Burkhart used on her self portrait. To paint the background I combined green and blue to create blue-green as a base color, then I also used white and a darker blue to create the shadows and highlights of the background.
After the outline was done, I decided that it would be best to paint the background first and then my actual face. Since I was combining two different pieces I decided to paint the background as Scott Rasmann did on his self portrait because I realized that the contrast between the background and the faces would be the best if I were to do it this way. I did not use the same colors in the background as Scott Rasmann did because I wanted to use the vibrant hues that Kathe Burkhart used on her self portrait. To paint the background I combined green and blue to create blue-green as a base color, then I also used white and a darker blue to create the shadows and highlights of the background.
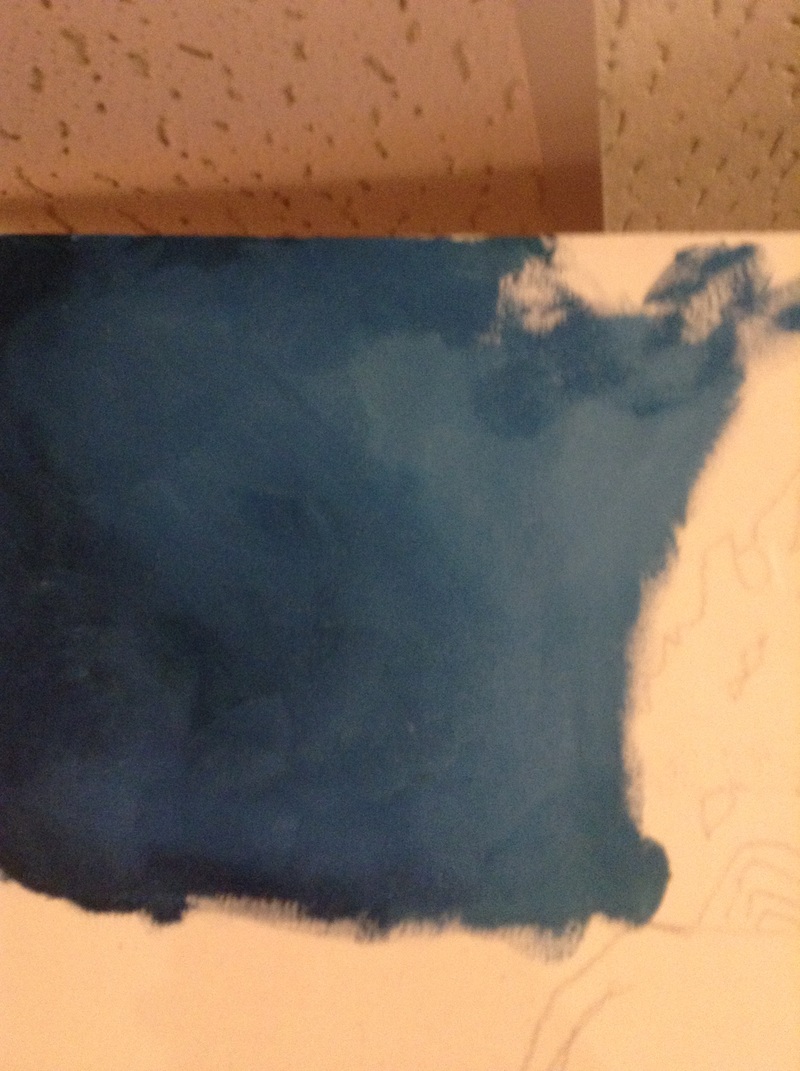
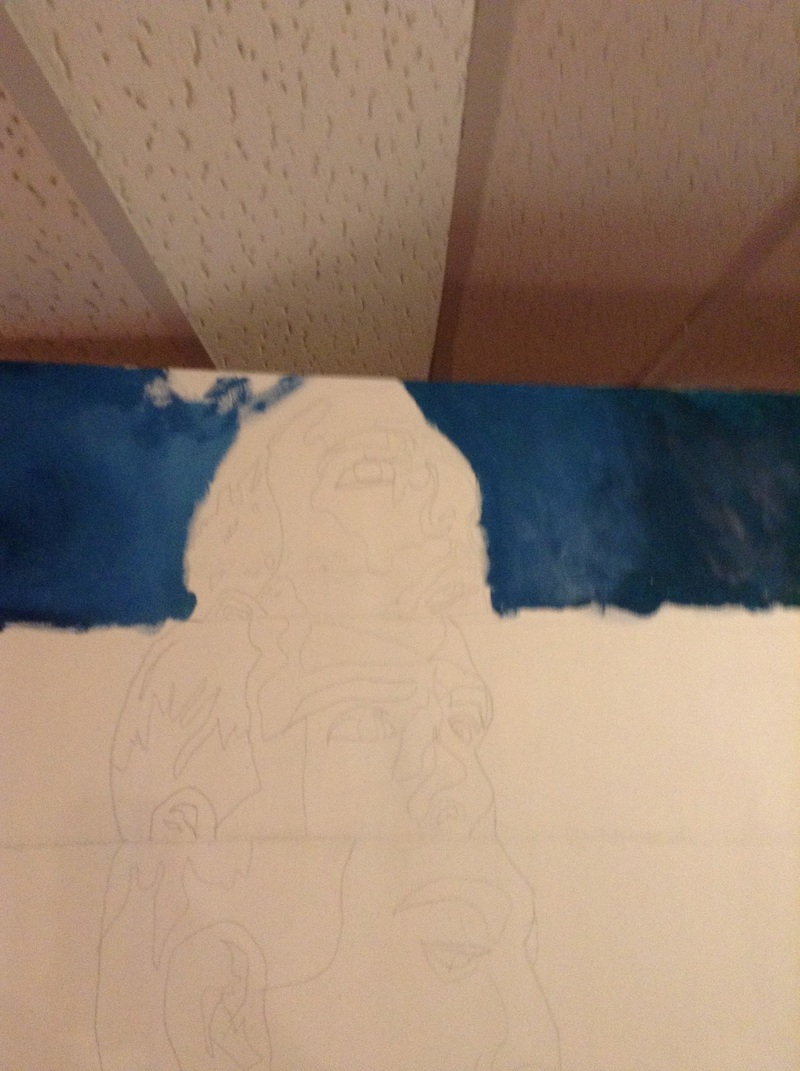
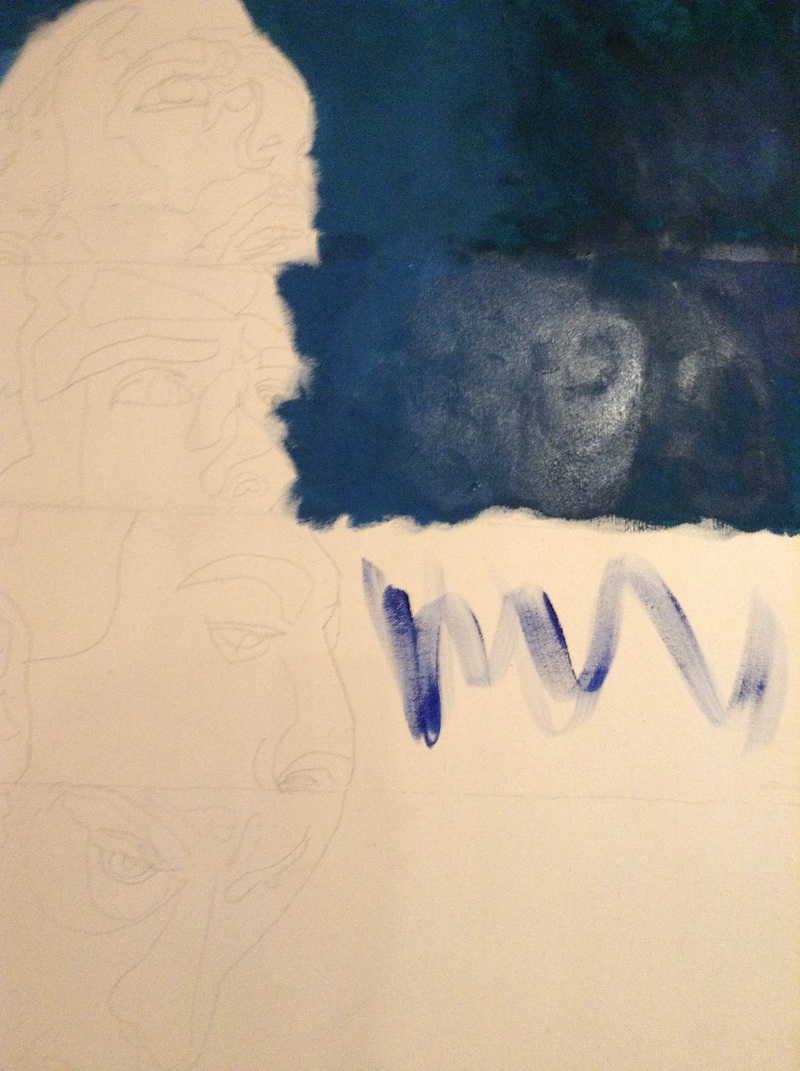
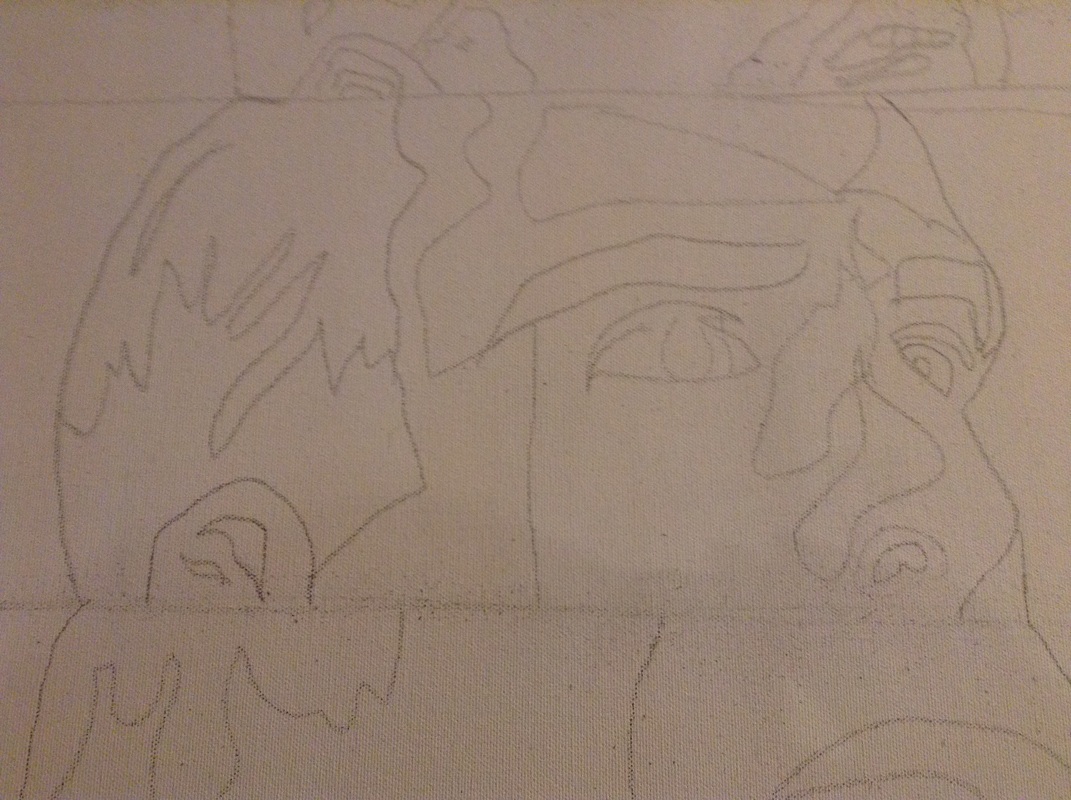
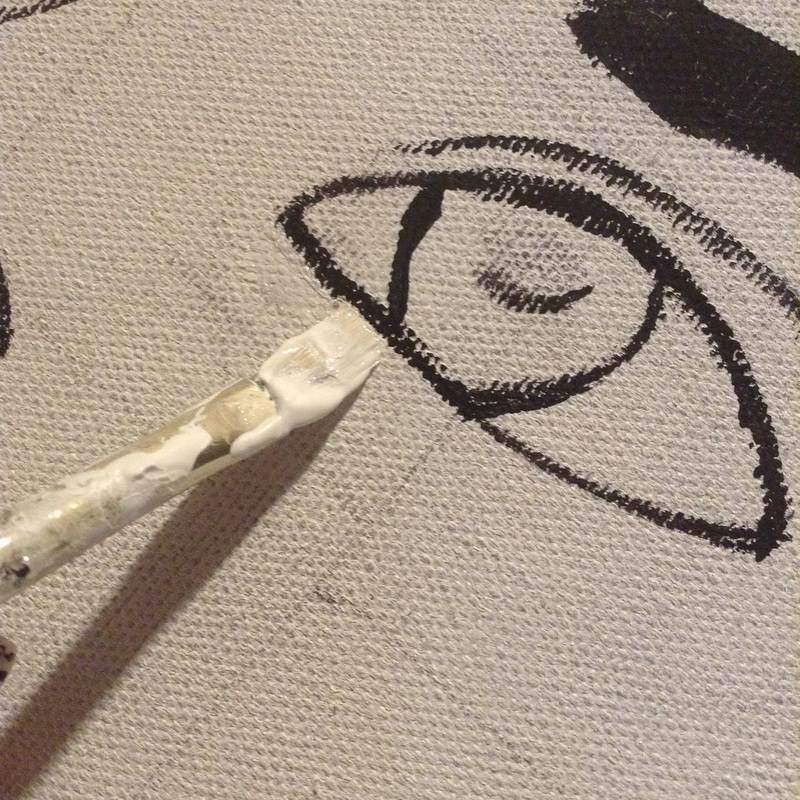
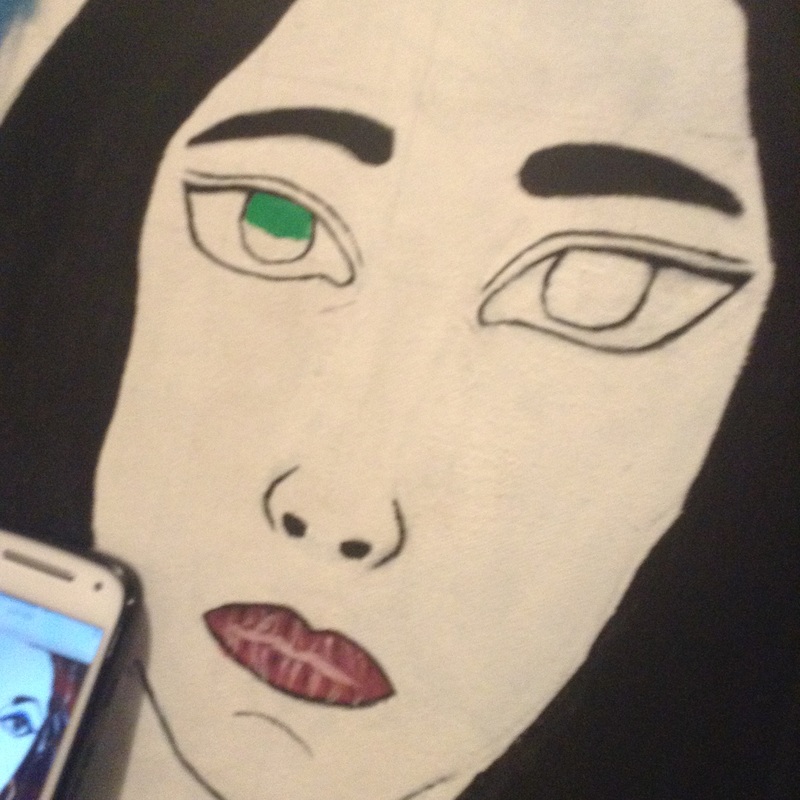
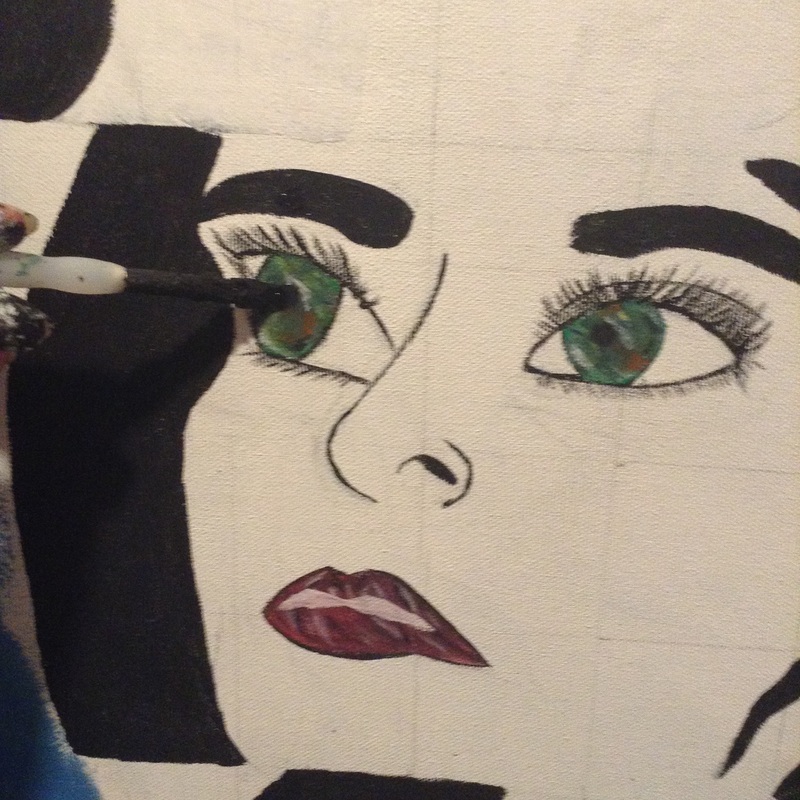
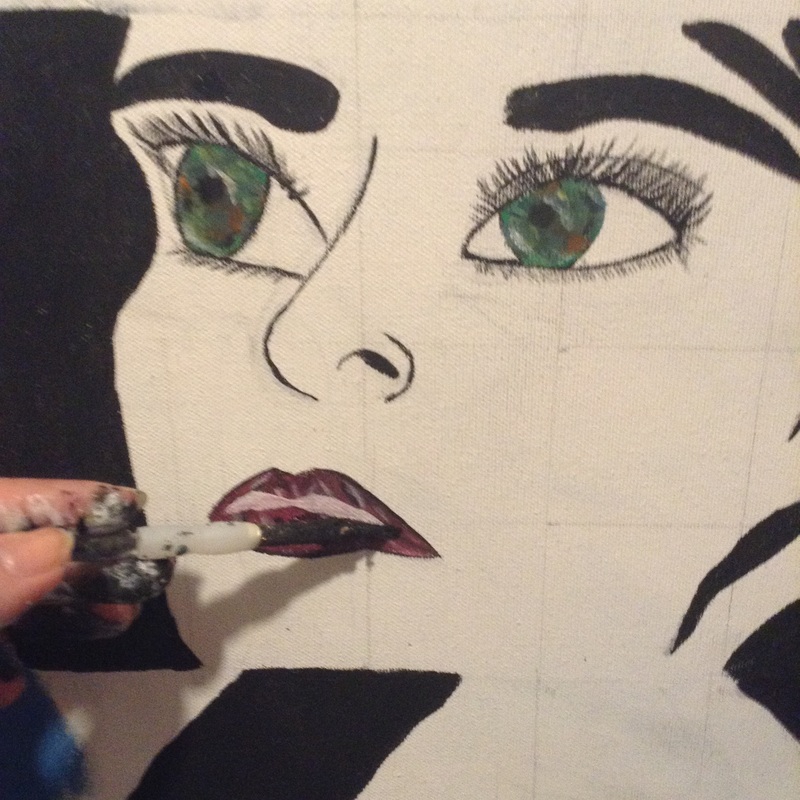
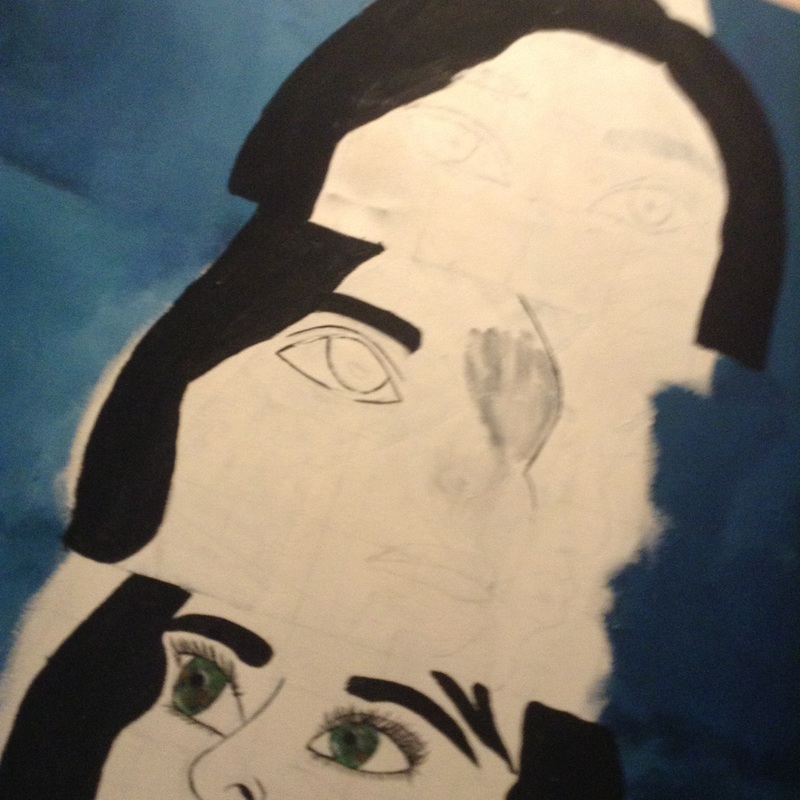
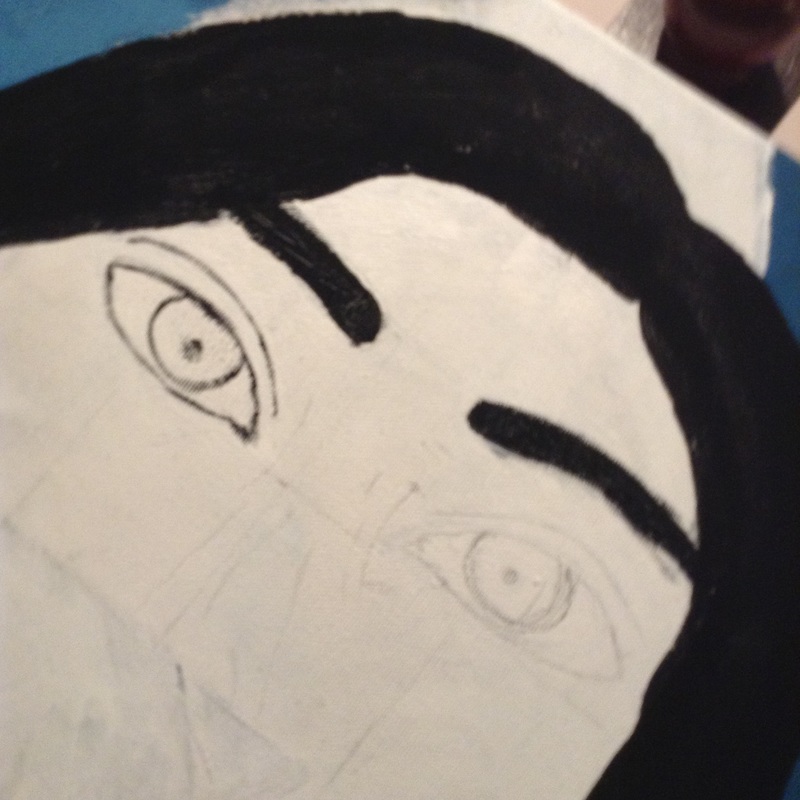
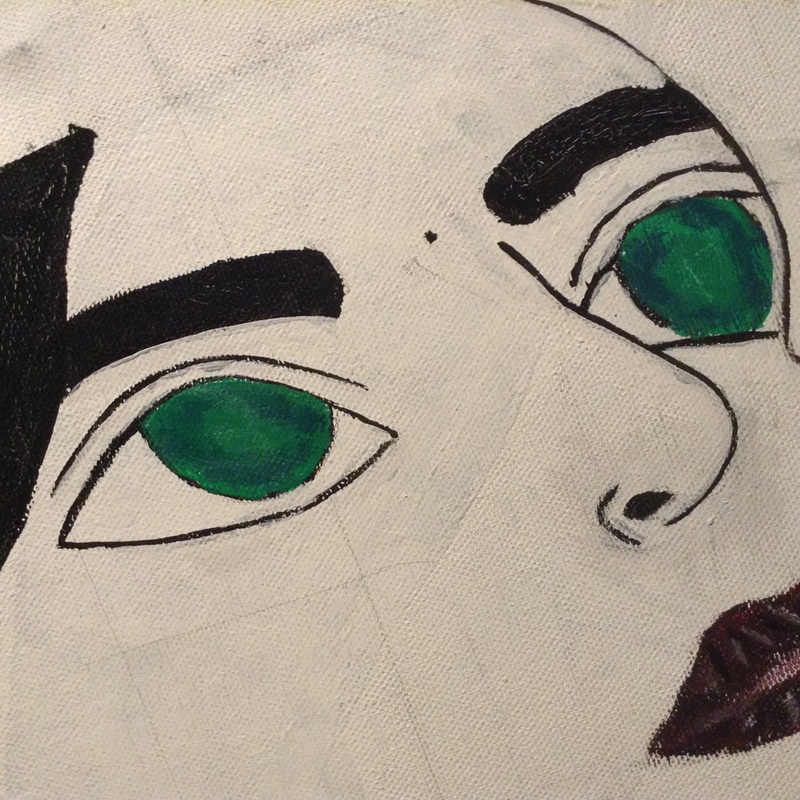
8. Creating the Faces
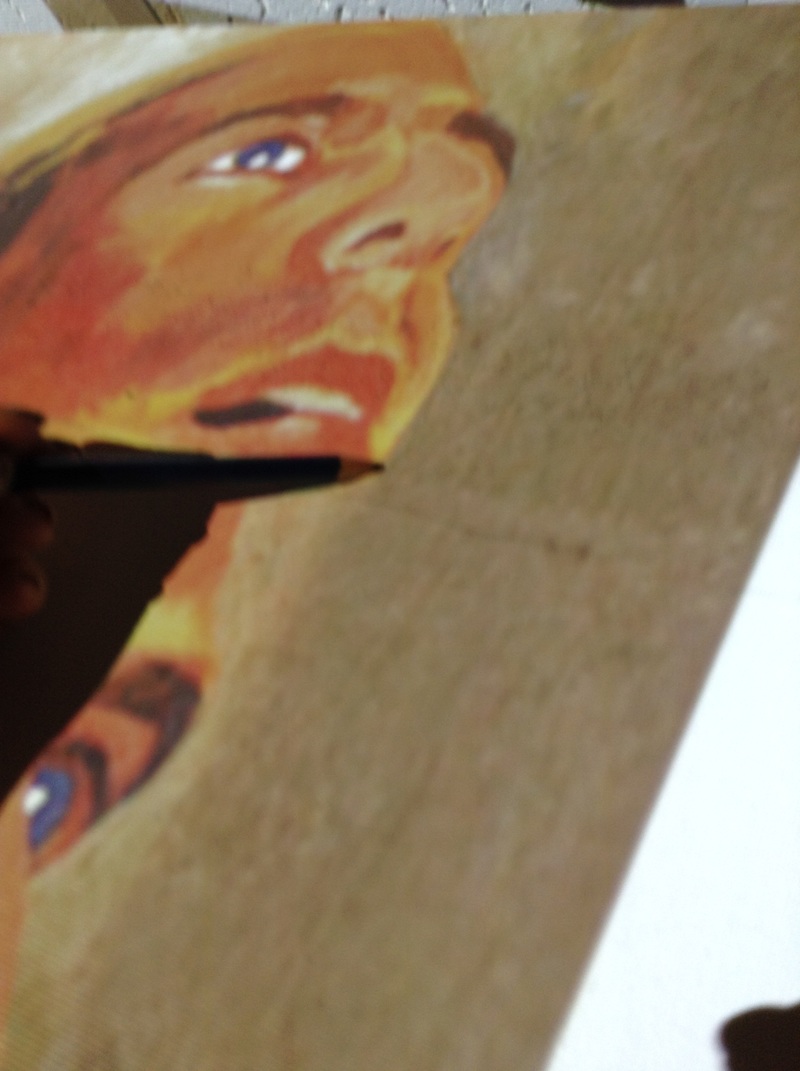
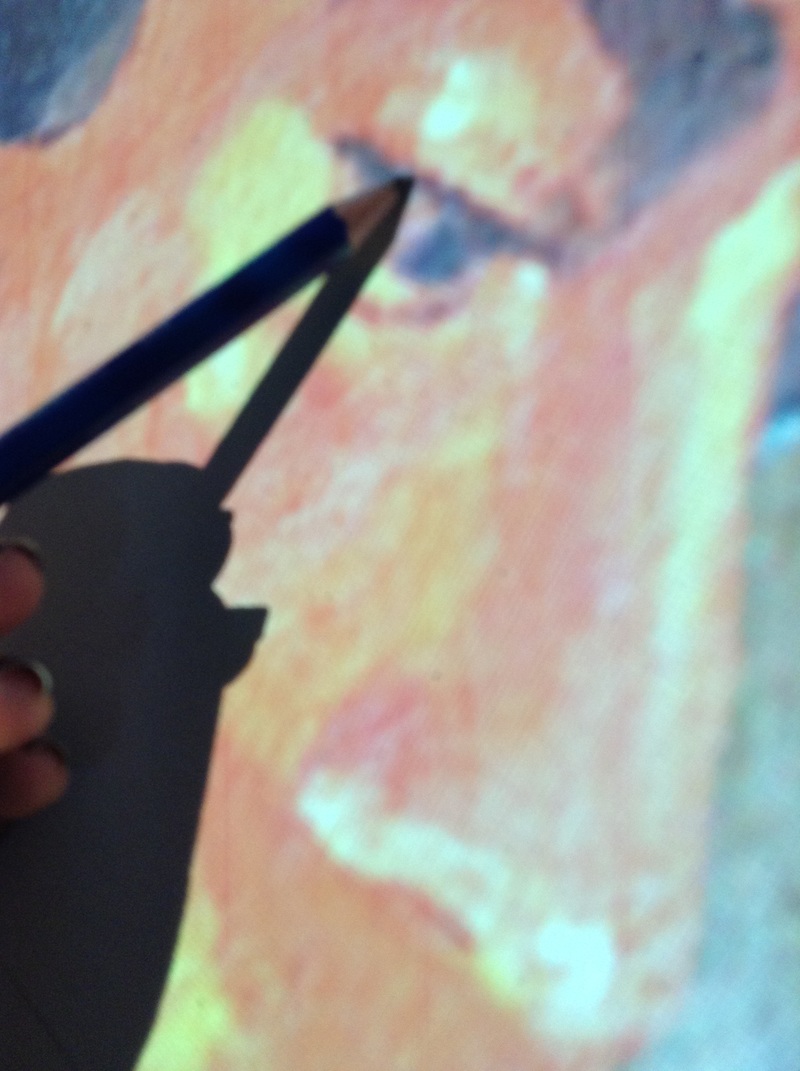
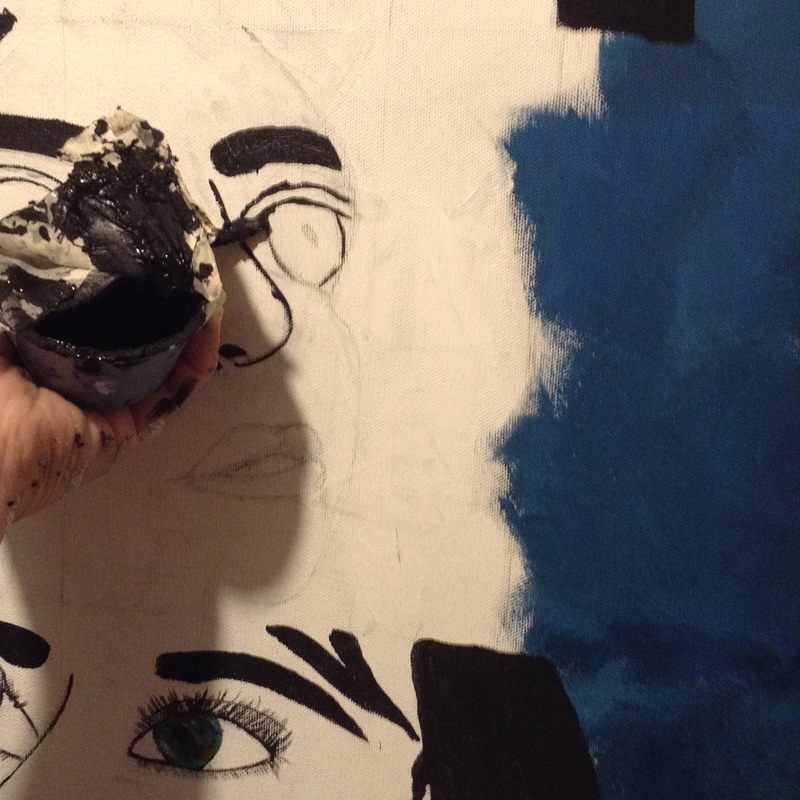
Once the background was done, I decided to paint the space where my faces would go white, because white would be the best base color for the faces since I was using the technique and the hues that Kathe Burkhart used. Then I took some pictures of my face looking at different places in order to create the four faces on the canvas. After I chose the pictures that I wanted to use, I drew a grid over the white space and carefully sketches the pieces by also having a grid over the photos. I sketched face by face in order to have the best control of each face position. Then I took black paint and outlined the basic features on my faces, just like Kathe Burkhart did on her self portrait. Then I put the color on the eyes and the mount by placing a base color and then doing some highlights and shadows.
Once the background was done, I decided to paint the space where my faces would go white, because white would be the best base color for the faces since I was using the technique and the hues that Kathe Burkhart used. Then I took some pictures of my face looking at different places in order to create the four faces on the canvas. After I chose the pictures that I wanted to use, I drew a grid over the white space and carefully sketches the pieces by also having a grid over the photos. I sketched face by face in order to have the best control of each face position. Then I took black paint and outlined the basic features on my faces, just like Kathe Burkhart did on her self portrait. Then I put the color on the eyes and the mount by placing a base color and then doing some highlights and shadows.
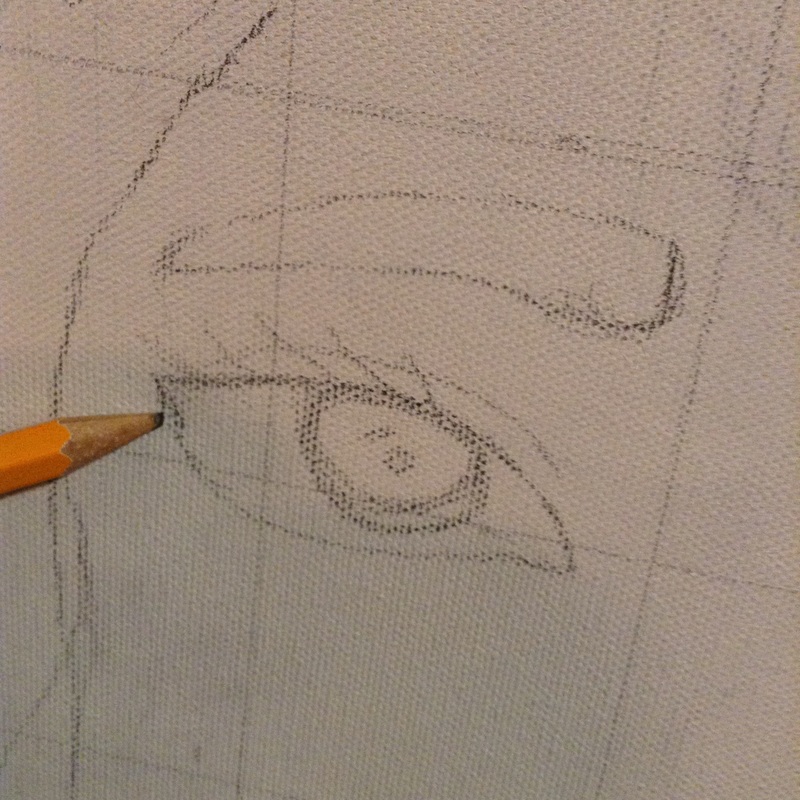
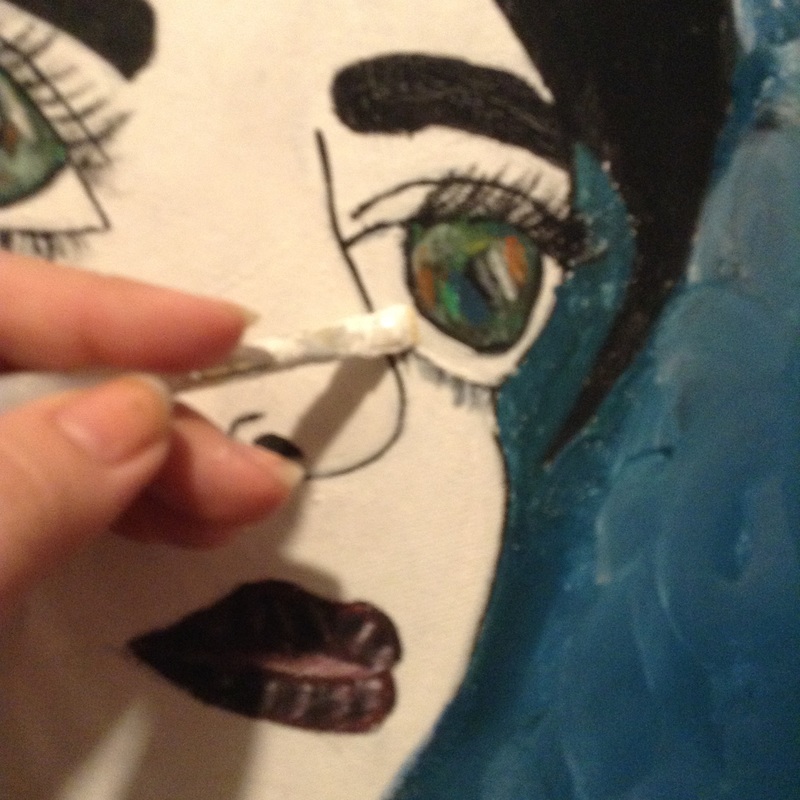
9. Final Details
After I was done with the faces, I was checking if everything seem good, I fixed some of the parts that didn't look very neat and then I was done with my self portrait.
After I was done with the faces, I was checking if everything seem good, I fixed some of the parts that didn't look very neat and then I was done with my self portrait.
Artist Inspiration
Self Portarait 1999
Oil on canvas 24"H x 15"W |
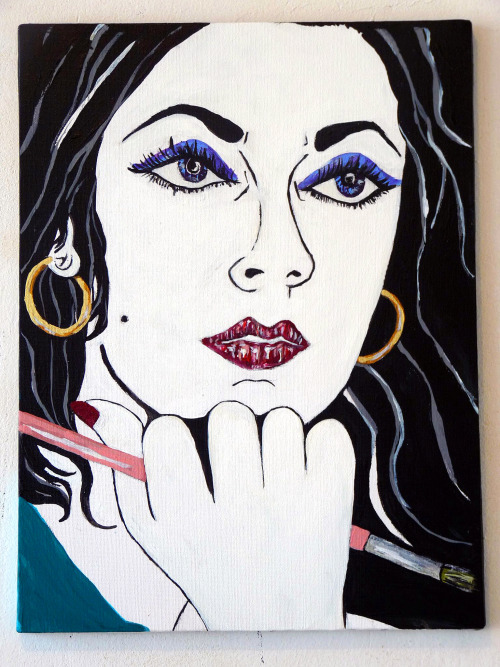
Self Portrait from The Liz Laylot painting series (1982-present)
Oil on canvas |
Kathe Burkhart created this self portrait in the Liz Taylor painting series where she was using the power of art to communicate her thoughts, these large-scale works, with their ribald humor and feminist-punk attitude made her gain reputation as "bad girl" according to Jane Ursula Harris. The Liz Taylor painting series is a series that started in 1982 and Burkhart still continous to create self portraits for this series, which means that she is still planing to communicate with art about her thoughts on men and the world.
|
Reflection
The eyes of my world wa sa success because I was able to use a limited color pallet and I still got to exhibit my meaning. All of the ideas from the final sketched were portait on the final piece and the final piece is clear and the meaning is visible. Some of the limitations that I had was the projectors projections, which was not working, so I had to experiment with other techniques to solve my problem and at the end I was able to solve the problem. Something that I would do different if I were to do it again would be to grid the whole canvas before sketching or painting on the canvas, I would also manage my time more wisely and finally I would change the way that I made the canvas because I feel that the fabric is a little loose. For me to finish my piece I had to find optimal ways to get over the obstacles that came, and this was a success because I was able to get out of my comfort zone and I still got my self portrait to exhibit the meaning that I created for it to have.
ACT Questions
1. Clearly explain how you are able to identify the cause-effect relationships between your inspiration and its effect upon your artwork.
My inspiration came from two different artists, but both pieces were self portraits. These self portraits each mean something different, but because of this I was able to combine then and make the fit my meaning, my inspiration were the whole process in order to create my final piece.
2. What is the overall approach (point of view) the author (from your research) has regarding the topic of your inspiration?
The author views the artist as a well know artist, who is very admirable. The author mainly focused on the techniques that Rasmann used and the meaning of the pieces that Burkhart created.
3. What kind of generalizations and conclusions have you discovered about people, ideas, cultures, etc. while you researched your inspiration?
Some conclusions that I came to discover where that women can also have a voice, and their voice will make a reputation for them, but this does not mean that the reputation is bad, but harder to life with.
4. What was the central idea or theme around your inspirational research?
The central idea of my inspirational research was about the techniques that these artists use and the meaning that they put into their artwork.
5) What kind of inferences (conclusions reached on the basis of evidence and reasoning) did you make while reading your research?
A conclusion that I made as I was researching was that a limited color pallet contributed to the piece as a whole, including their meaning
Citations
Harris, Jane Ursula. "In the Studio: Kathe Burkhart." Art in America. N.p., 1 Mar. 2016. Web. 2 Dec. 2016.
http://www.artinamericamagazine.com/news-features/magazine/in-the-studio-kathe-burkhart/
http://www.artinamericamagazine.com/news-features/magazine/in-the-studio-kathe-burkhart/
